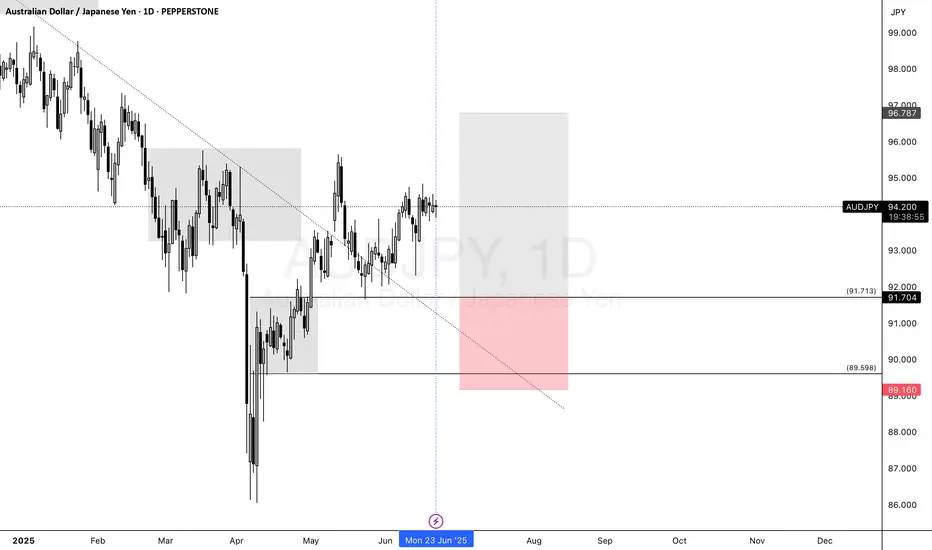
📈 AUDJPY Swing Trade Setup
🔹 Buy Limit: At Weekly/Daily Demand Zone
🔹 Bias: Bullish (COT-supported)
🔹 Reason:
Price is sitting inside a key weekly/daily demand zone, offering a strong long opportunity.
COT report shows commercials (smart money) are net long AUD and speculators are net short, indicating potential for a reversal or continued upside.
Aligns with the Set & Forget swing strategy — no confirmation needed.
📊 Structure supports a clean risk-to-reward setup with confluence from both technicals and sentiment.
Disclaimer
The information and publications are not meant to be, and do not constitute, financial, investment, trading, or other types of advice or recommendations supplied or endorsed by TradingView. Read more in the Terms of Use.
Disclaimer
The information and publications are not meant to be, and do not constitute, financial, investment, trading, or other types of advice or recommendations supplied or endorsed by TradingView. Read more in the Terms of Use.